

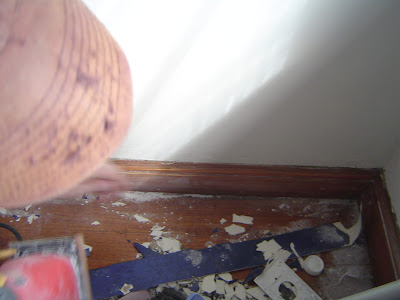
We decided to tackle the dining room thinking it would be a weekend paint project. Oops. The paint prep on an old house like this takes forever! The picture above is of the floor board that fell off when I started to sand it. yep. some quality walls we have here. So we patched it and nailed a piece of wood between the lath board and the floor board so that it would stay intact. We then patched the wall using spackling compound with a little bit of water added and sanded it until it look brand new again, well almost anyways. Nothing is perfect when your house in 100+ years old. But that's why we love her so. Right?
(we used the spackling compound because we where going for "quick drying")
After we started chipping out the cracks in the plaster and filling all of the 10,000 nail wholes we had a realization that this was A MUCH LARGER JOB THAN WE THOUGHT. So we kept on chipping, filling, mending & sanding. Lot's of sanding. Like tons of sanding...so thankful I put up plastic in all the door ways to this room and closed off the air vents and shut off the HVAC.
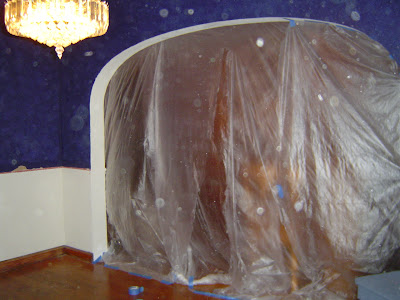
yes those are dust particles taking over my camera lens
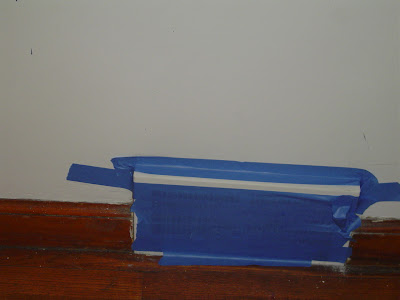
not the best way to block off a vent but hey...I try.

I even wore a pretty little mask to protect my dear lungs.
1st place "Handy Tool Award" goes to The Craftsman 9-27984 Professional 1/4 Sheet Pad Sander! You can get yours (here)
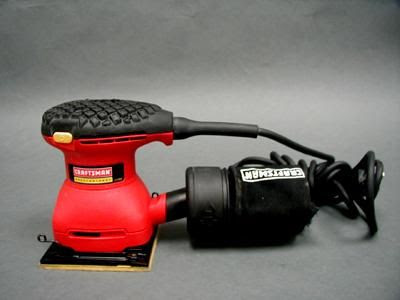
This tool earned it's keep plus some. We used it on the windows, ceiling, floor boards, walls, and the floor. With out a doubt the best sander I have used thus far. The 1/4 sheet allows you use any grade paper you prefer and you just cut it yourself. The handy vacuum bag helped with the dust, but with most any sander you will have access dust flying around. Very easy to use for anyone, and made this job much quicker.
**edit
**Special thanks to my father-in-law John for purchasing the Craftsman Sander and letting us use it. Also a huge thanks to family for chipping in to help us get the walls back in order. Thanks guys!
We got the walls prepped and ready for painting by Sunday around 2:00..yeah great weekend painting project. First we primed the areas where we had spackling, and painted the ceiling with Glidden ICI PAINTS Quick Roll with EZ Track - you can just dip and roll with the easy to use container. It also goes on pink until it drys so you know here you have painted (very helpful). We had to go to Home Depot for this one...our Lowes doesn't seem to carry this gem.

watching the paint dry...
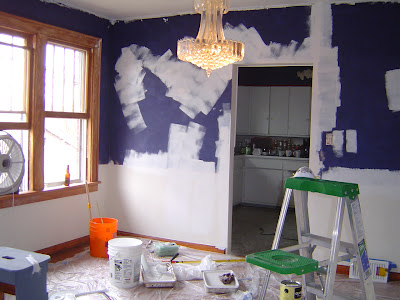

Then we primed the whole wall with 2 coats. We use Zinsser Bulls Eye primer. We bought a 5 gallon bucket before we painted our bedroom because if you see that orange in the background...it's gonna need a lot.


Next... wall color, new light, chair rails, & crown molding go up.
No comments:
Post a Comment